We have partnered with SmartVault to give you a secure way to share files. You’re given your own vault in which you can store your various documents for mortgage and real estate transactions.
You may also view the following video for an orientation on using SmartVault or follow the instructions below:
Step 1 – Activate Your SmartVault Account
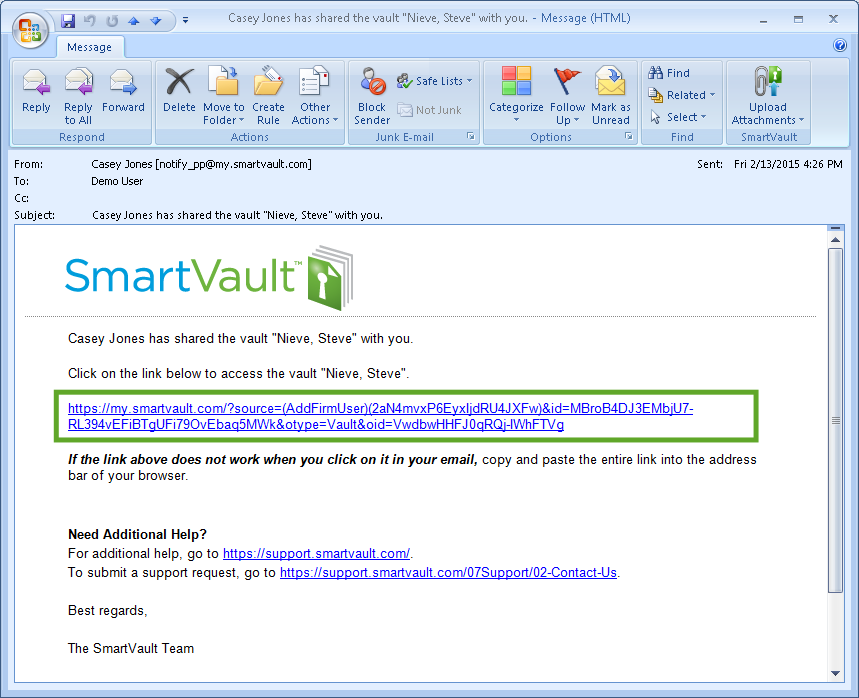
When your tax preparer invited you to use his/her SmartVault account, we sent you an activation email.
Check your inbox for this email. The sender is [email protected]. Be sure to check your Junk or Spam folder as well.

Step 2 – Sign in to the SmartVault Client Portal
To access your tax preparer’s SmartVault account, sign in to the Client Portal. You’ll sign in with your username and password. Your username is your email address.
- Go to https://my.smartvault.com.
- Type the email address and password you specified when you created your SmartVault account.
- If you want SmartVault to remember your user name and password, select Remember me.
- Click Sign in.
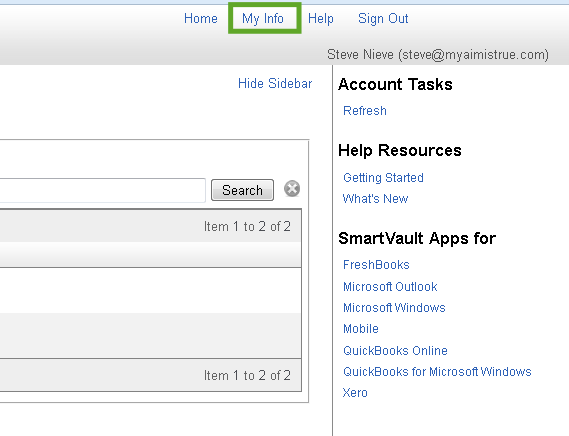
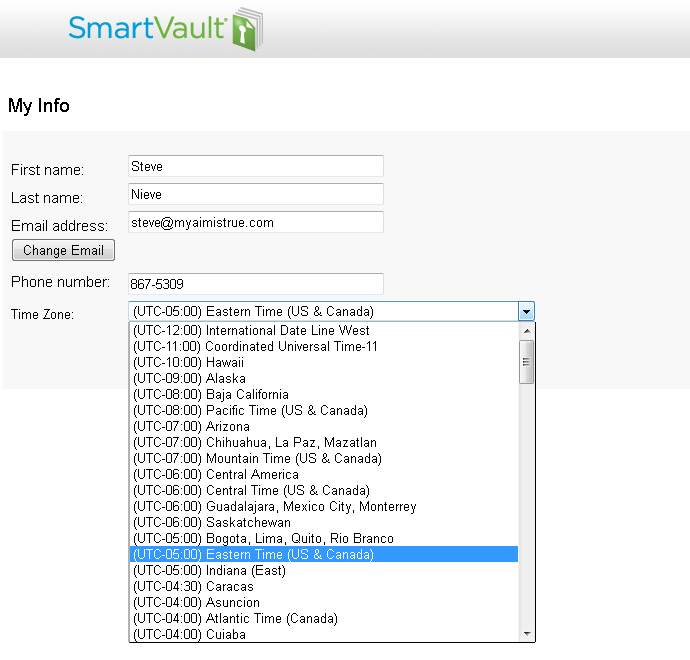
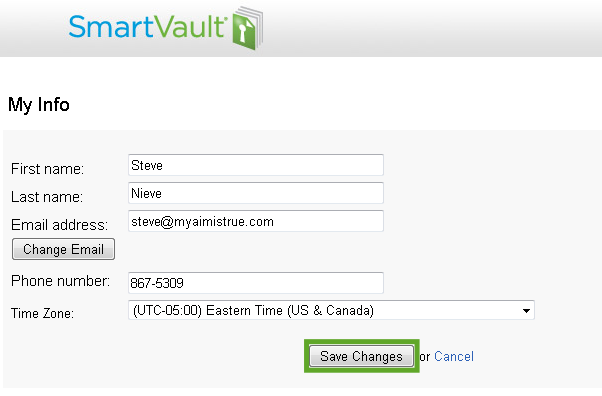
Step 3 – Specify your time zone
By default, the time zone within the client portal is (GMT-06:00) Central Time (US & Canada). If you are in a different time zone, you’ll set your time zone in the My Info section of the main menu. Setting your time zone allows SmartVault to apply accurate dates and times to your documents.
Step 4 – Work in the SmartVault Client Portal
When you sign in to the SmartVault Client Portal, you’ll see your personal vault.
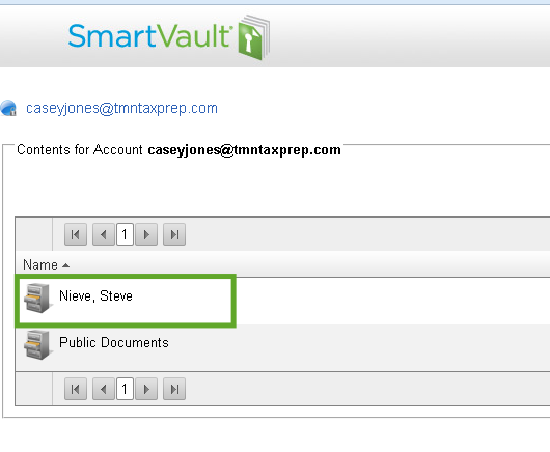
Click on your vault to move inside. You’ll see folders labeled “documents” Click on this folder to move inside.
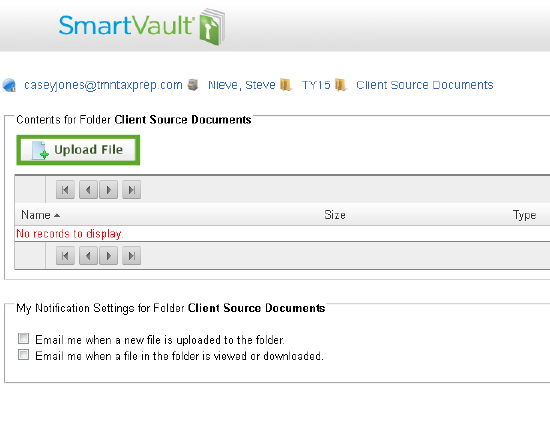
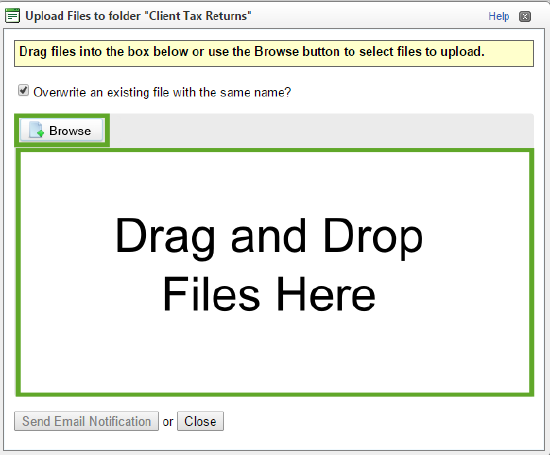
Step 5 – Upload a source document
Your tax preparer might request that you upload one of your tax-related source documents such as your W-2. Note: Your tax preparer might have changed the appearance of some of these folders. Please contact your tax preparer for assistance if you cannot find the source documents folder.